The Blood of Lathander in Baldur's Gate 3: A Powerful Blessing That Can Be a Curse
Baldur's Gate 3's legendary Blood of Lathander mace dazzles with power, but its passive holy light can disrupt key vampire spawn quests.
In the sprawling world of Baldur's Gate 3, where loot and legendary items are around every corner, it's all too easy for even seasoned adventurers to forget the fine print on their equipment. One fan-favorite weapon, the legendary Blood of Lathander mace, perfectly embodies this double-edged sword. While its power is undeniable, its passive effects can lead to some truly facepalm-inducing, or rather, vampire-vanishing moments if players aren't paying attention. As the community has discovered, this holy weapon requires a bit more management than your average +1 sword, especially when dealing with certain nocturnal NPCs in the game's later acts.
The Holy Power of the Blood of Lathander
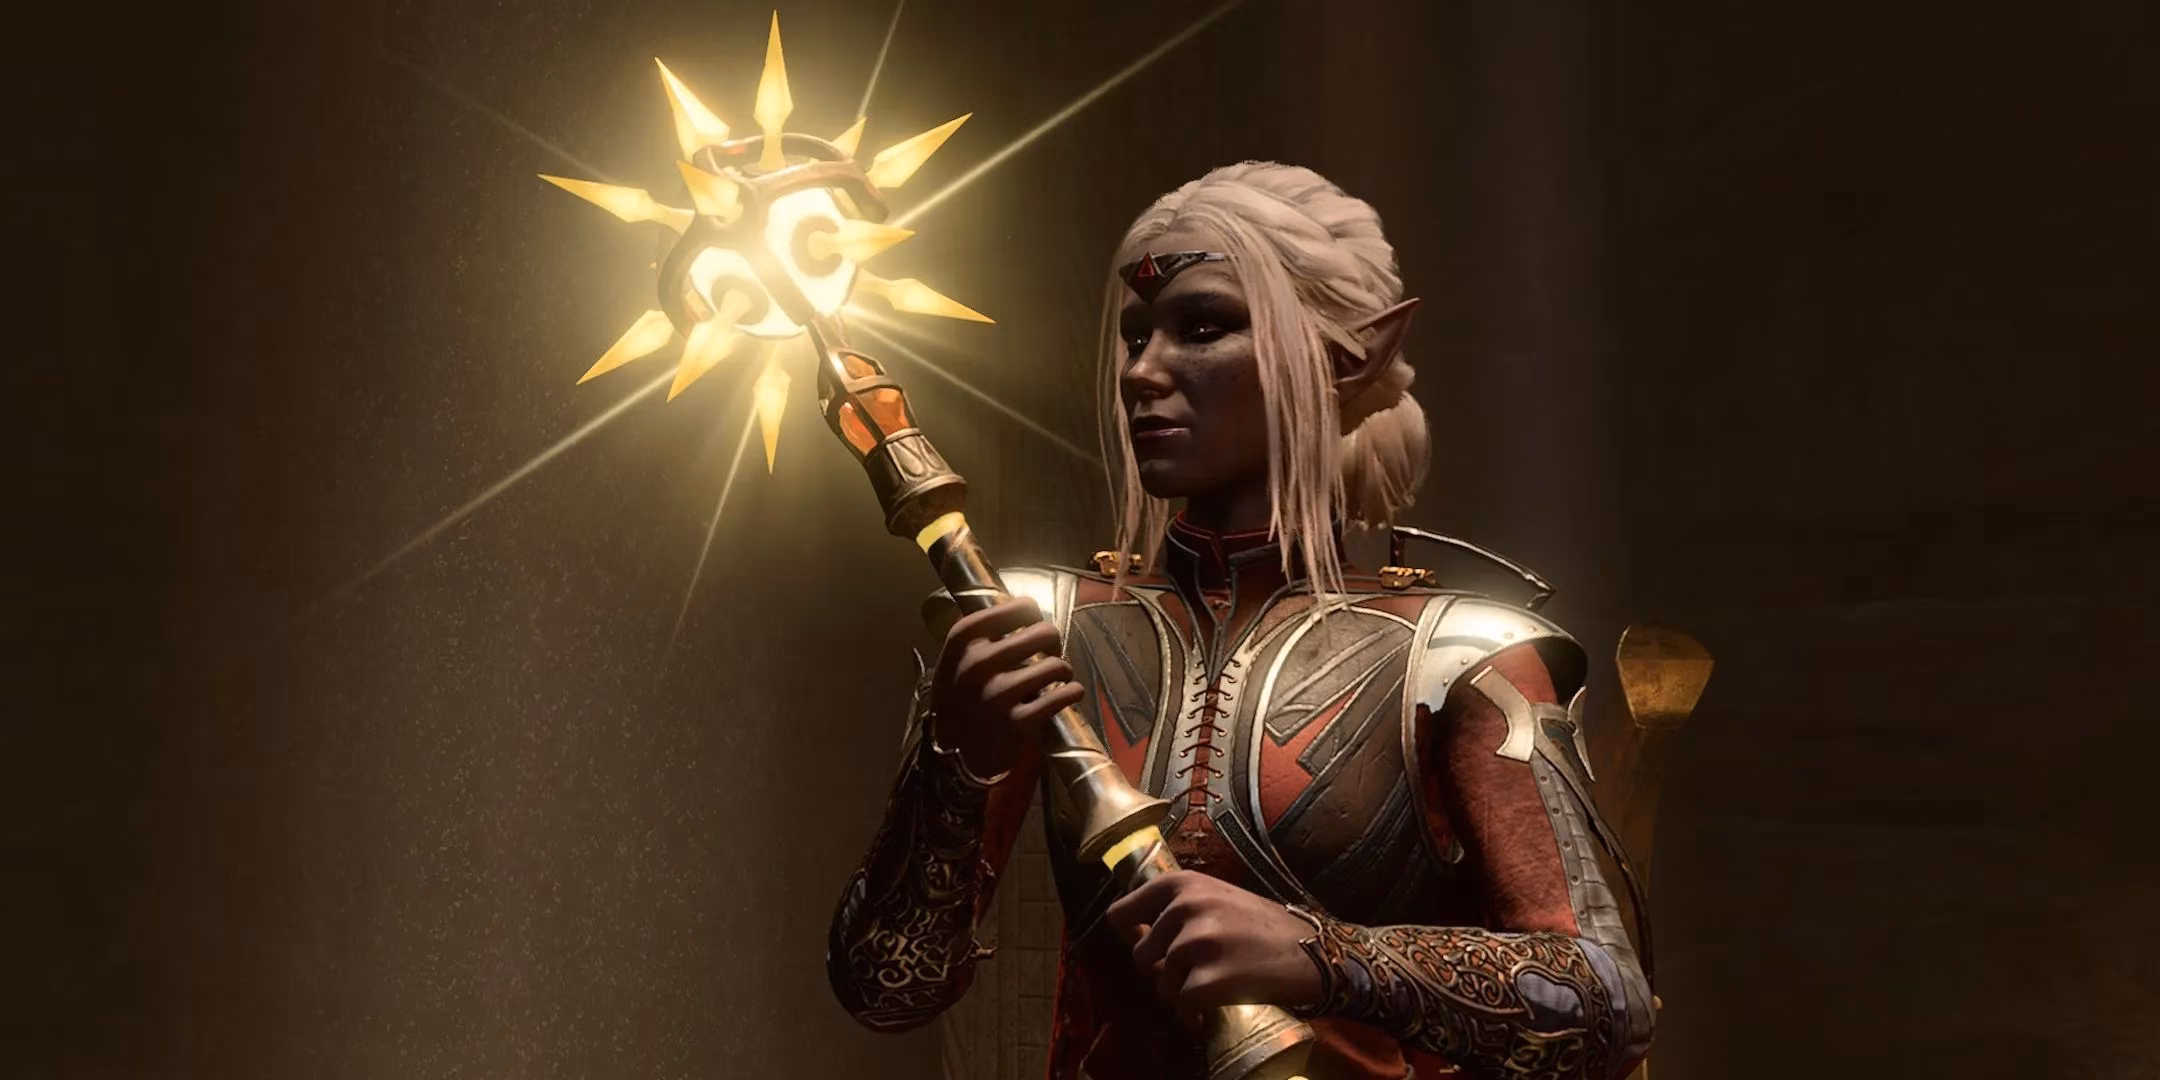
Acquired relatively early in the adventure from the Rosymorn Monastery during the githyanki crèche storyline, the Blood of Lathander is no slouch. This legendary mace lives up to its namesake deity by packing a serious punch against the undead and fiends that plague the realms. Its standout feature is the ability to cast the brilliant level six spell, Sunbeam, once per long rest—a literal ray of sunshine that can decimate groups of shadowy foes.
However, the real magic, and the source of both its utility and its headaches, lies in its passive ability: Lathander's Light. This effect causes the mace to shed a holy light in a six-meter (20-foot) radius. In the Shadow-Cursed Lands of Act 2, this is an absolute godsend (pun intended). It provides a protective aura against the pervasive shadow curse and has a chance to blind nearby fiends and undead, making it arguably one of the best tools for surviving that bleak landscape.
When a Blessing Becomes a Problem: The Astarion Quest Conundrum
Here's where things get tricky. Fast forward to Act 3, and the party is likely deeply embroiled in companion quests, including resolving the fate of the vampire spawn Astarion. A crucial step involves meeting with his "siblings," the vampire spawn Dalyria and Petras, at Fraygo's Flophouse. As one Reddit user, Mister_Sosotris, hilariously documented, walking into that meeting with the Blood of Lathander's holy light still active leads to a very abrupt end to the conversation. The spawn don't stick around for a chat; they simply “poof” into thin air, leaving the party confused and potentially locking them out of a quest resolution.
The culprit? The very same Lathander's Light that was so helpful against shadows. The passive holy radiance is anathema to vampire spawn, causing them to flee on sight. This isn't just a one-off bug; it's a direct and logical consequence of the weapon's properties interacting with the game's world—a testament to Baldur's Gate 3's deep systemic design, but a major oops moment for unprepared players.
The Simple Fix: Toggling Your Radiance
Thankfully, Larian Studios provided a solution for this divine oversight. The passive effect can be toggled on and off. Players need to navigate to the passives tab on their character's action bar (usually found at the bottom of the screen) and simply click the Lathander's Light icon to disable it. It's a small step that can save a huge headache and an unwanted reload.

This issue highlights a broader, vital piece of advice for any BG3 player cruising into the late game: always double-check your equipped items' passive effects. The game is chock-full of gear with situational bonuses and penalties that can wildly affect social interactions, exploration, and combat in unexpected ways.
Beyond the Flophouse: Other Vampiric Victims of the Light
The flophouse incident isn't an isolated case. If players make certain choices earlier in the game—like sparing the Gur hunter Gandrel and later freeing the 7000 vampire spawn from Cazador's palace—they may encounter a poignant scene in the Lower City sewers in Act 3. Here, Gandrel can be found trying to care for the freed vampire children. It's a moment of quiet humanity amidst the chaos. However, waltzing into this tender scene with Lathander's Light blazing will have the same effect: the vampire children will flee in terror, and Gandrel, protective of his charges, will immediately turn hostile. A potential ally and a touching narrative beat are lost in an instant because of a forgotten weapon toggle.
Key Takeaways for the Wise Adventurer
To sum it up, the Blood of Lathander is a top-tier weapon, but it demands respect and awareness. Here’s a quick checklist for managing its power:
-
Act 2 (Shadow-Cursed Lands): Keep Lathander's Light ON. It's your best friend against the environmental curse and shadow enemies.
-
Act 3 (General): Turn Lathander's Light OFF by default. The shadow curse is gone, and the radiant aura serves little purpose in well-lit city streets but can cause major social faux pas.
-
Specific Toggle-On Moments: Only reactivate it when you knowingly enter a combat situation against undead or fiends.
-
General Rule: Make it a habit to review all character passives, especially before pivotal story conversations or entering new areas. A little micromanagement goes a long way in preventing a total party foul.
In the end, the saga of the Blood of Lathander is a perfect microcosm of what makes Baldur's Gate 3 so special. Its world is reactive and consistent; a weapon that harms undead will logically scare away vampire spawn, quest-critical or not. It rewards players who pay attention to the details and punishes those who don't—all in the name of immersive, believable storytelling. So, next time you gear up for a big meeting in Wyrm's Crossing, take a sec to check your glow. It might just save your party from an awkward silence... or a hostile Gur.