Baldur's Gate 3's Stained-Glass Puzzle: A Secret Key in the Monastery
Uncover the legendary Dawnmaster's Puzzle in Baldur's Gate 3, a captivating stained-glass secret at Rosymorn Monastery that demands keen exploration. By retrieving four ceremonial weapons and placing them on the correct pedestals, you'll unlock a crucial artifact for accessing one of the game's most coveted early treasures.
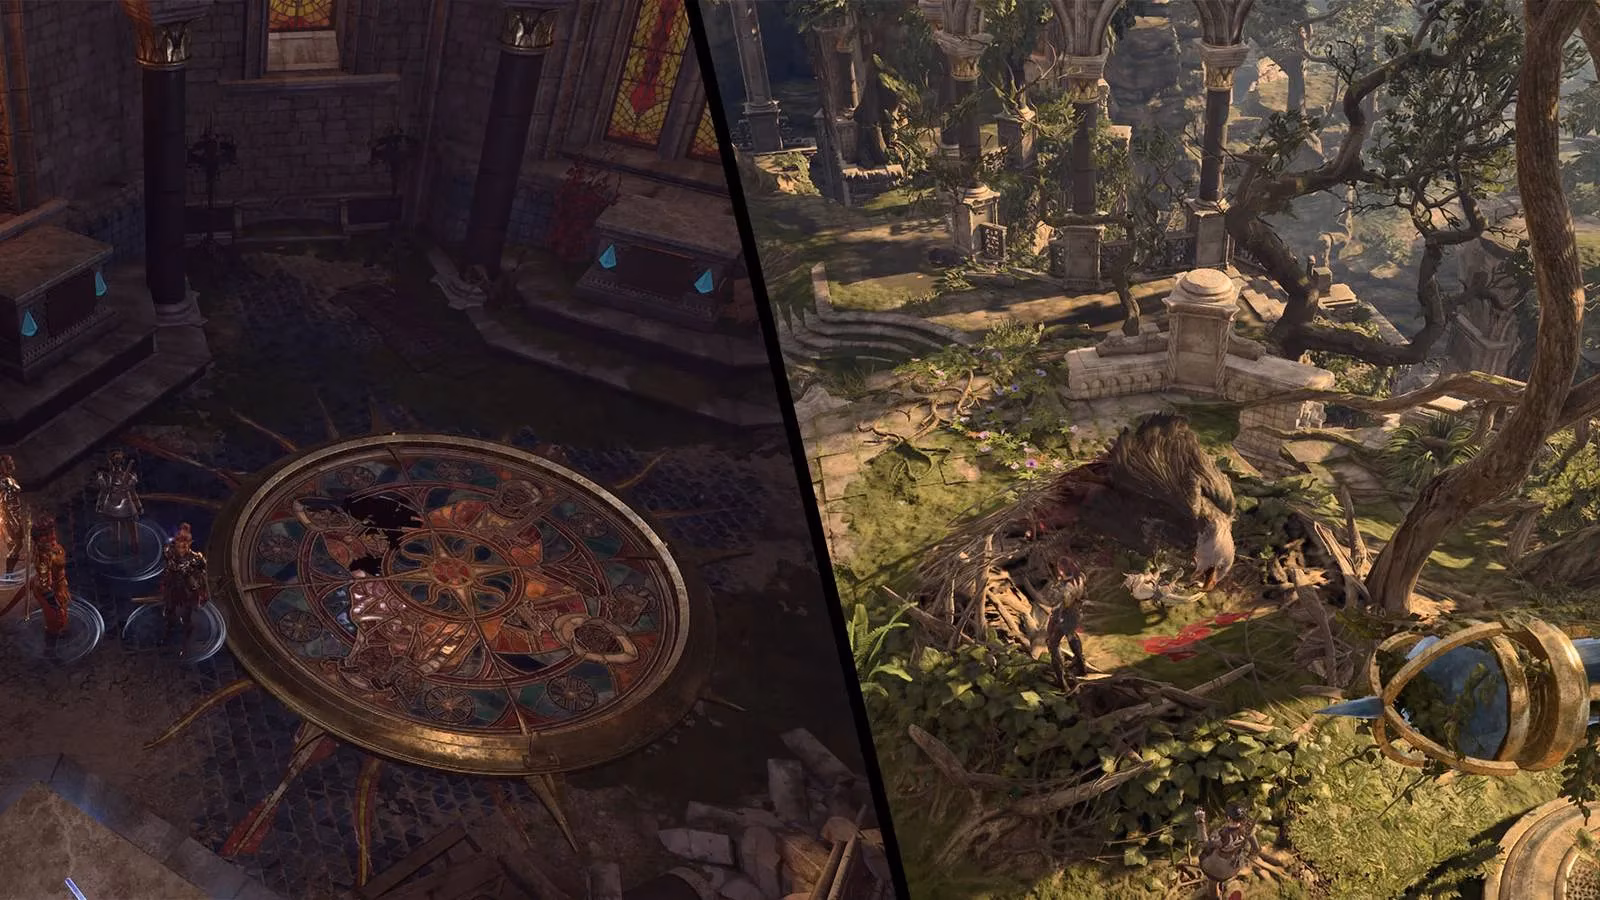
Exploring the windswept peaks of Faerun in Baldur's Gate 3 is like sifting through an ancient, half-forgotten grimoire; every page turned reveals a new spell of mystery. For those adventurers who have braved the treacherous mountain paths and discovered the imposing Rosymorn Monastery in Act One, a particularly elegant secret awaits. Tucked away on the monastery's second floor, a beautiful stained-glass window is set into the very floorboards, a cryptic mosaic more akin to a celestial lock than a simple decoration. Solving this puzzle isn't just about brute force or arcane knowledge—it's a test of thorough exploration and a gentle nod to the monastery's forgotten history. The reward? A crucial artifact that acts as the sole key to one of the game's most legendary early-game treasures.
🔍 Locating the Puzzle
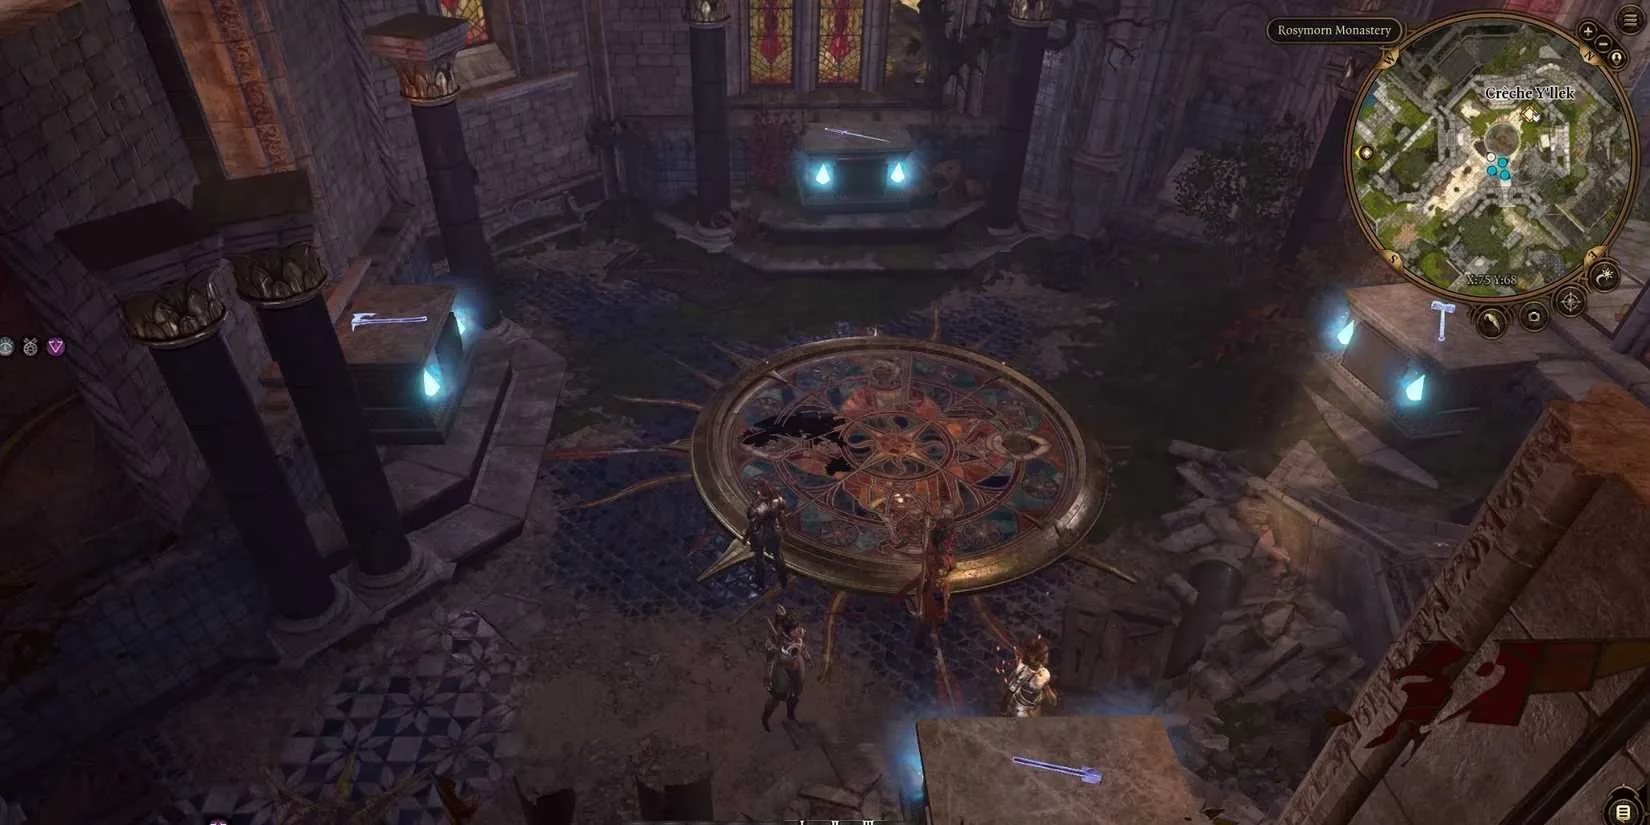
For players following Lae'zel's urgent questline, the Rosymorn Monastery—a Githyanki Creche—is a major destination. Once inside this fortress of alien discipline, the real exploration begins. The puzzle room itself is found in the northwestern corner of the second floor. You'll know it by the radiant, multi-colored light filtering up from the intricate stained-glass design embedded in the floor.
Think of this room not as a dead end, but as the silent heart of the monastery, its pulse waiting to be restarted with the correct ritual.
⚔️ The Hunt for the Ceremonial Weapons
The solution is deceptively simple in theory: place four specific ceremonial weapons on the correct pedestals surrounding the window. The challenge lies in finding these items, which are scattered throughout the monastery like the scattered bones of a long-dead ritual. You cannot substitute them with your powerful +1 swords or flaming axes; the puzzle demands these specific, seemingly mundane relics.
| Ceremonial Weapon | General Location Hint | Pro-Tip |
|---|---|---|
| Ceremonial Mace | Often guarded by or near Kobold infestations. | Don't fancy a fight? A Rusty Mace found elsewhere in the monastery can serve as a perfect substitute! |
| Ceremonial Sword | Look in areas related to former leaders or ceremonial halls. | |
| Ceremonial Warhammer | Check side chambers and less-traveled corridors. | |
| Ceremonial Battleaxe | Might be in a location requiring a slight puzzle or perceptive check to access. |
Tracking them down requires combing every nook. It's a scavenger hunt where the prize isn't the items themselves, but the door they unlock.
🧩 Executing the Solution
Once you've gathered the quartet of weapons (or the Rusty Mace stand-in), return to the stained-glass chamber. Four pedestals, each dedicated to a Dawnmaster—Stockhold, Welkinglory, Seed, and Vaseid—stand guard. Interact with the small plaques to identify them.
Here is the exact placement, the final sequence to this silent symphony:
-
Ceremonial Mace → Dawnmaster Stockhold's pedestal.
-
Ceremonial Sword → Dawnmaster Welkinglory's pedestal.
-
Ceremonial Warhammer → Dawnmaster Seed's pedestal.
-
Ceremonial Battleaxe → Dawnmaster Vaseid's pedestal.
The game gives clear feedback. A correct placement makes the gems on the pedestal glow with a soft light. Get it wrong, and the pedestal will unceremoniously eject the weapon as if spitting out a bad seed. When all four glow in unison, the mechanism activates with a satisfying rumble.
💎 The Glorious Reward: Dawnmaster's Crest
As the last weapon slots home, the far wall of the room shudders and descends, revealing a hidden niche. Inside awaits the Dawnmaster's Crest. This isn't just another piece of vendor trash; it's a narrative and mechanical keystone. This crest is the essential component needed to safely deactivate the ancient defenses surrounding the Blood of Lathander, a legendary mace of immense power. Without it, attempting to claim the Blood will trigger a catastrophic (and likely party-wiping) trap. The puzzle, therefore, is less a test of intellect and more a deliberate rite of passage, ensuring only those worthy of patience and observation can claim the prize. The stained-glass window is the lock, the weapons are the tumblers, and the crest is the perfectly crafted key that finally turns.
🦅 Final Thoughts & Tips
-
Thoroughness is Key: The monastery is layered like an onion of Githyanki dogma and older faiths. Explore every single room, cellar, and rooftop.
-
Perception is Your Friend: Keep an eye out for shiny interactable objects and pass those Perception checks to spot well-hidden items.
-
The Easy Way Out: Remember the Rusty Mace! It's a lifesaver if you want to avoid unnecessary Kobold skirmishes.
-
Sequence Doesn't Matter: You can place the weapons in any order, as long as each one ends up on its correct, designated pedestal.
Completing this puzzle is a quiet, rewarding moment in Baldur's Gate 3's vast world. It proves that the greatest secrets aren't always guarded by dragons, but by patience, observation, and understanding the echoes of rituals past. Now, with the Dawnmaster's Crest in hand, the path to one of the game's most iconic weapons is finally clear. Go claim your destiny!